(This post is an update on my last post on the use of flexinol ( a type of muscle wire) with arduino)
During the last month, I have been continuing to work on utilizing flexinol to create kinetic sculpture. At the time I wrote my last post, I had started to incorporate the sculptural forms I had created with an Arduino board to make a rhythmic “pulsing” movement. I was struggling at that point to direct enough voltage to the muscle wire forms to make more than one form at a time move (about 4-5 inches of muscle wire). I can however, get the forms to move as a group manually with a 9 volt battery:
Unfortunately, I am still struggling to get this affect while connected to an arduino. I also tried switching from arduino to an ATTiny85 micro-controller to save space for these relatively small sculptures, which I also struggled with. I am having difficulty finding the right technique for getting enough voltage (about 9 volts) to the muscle wire.
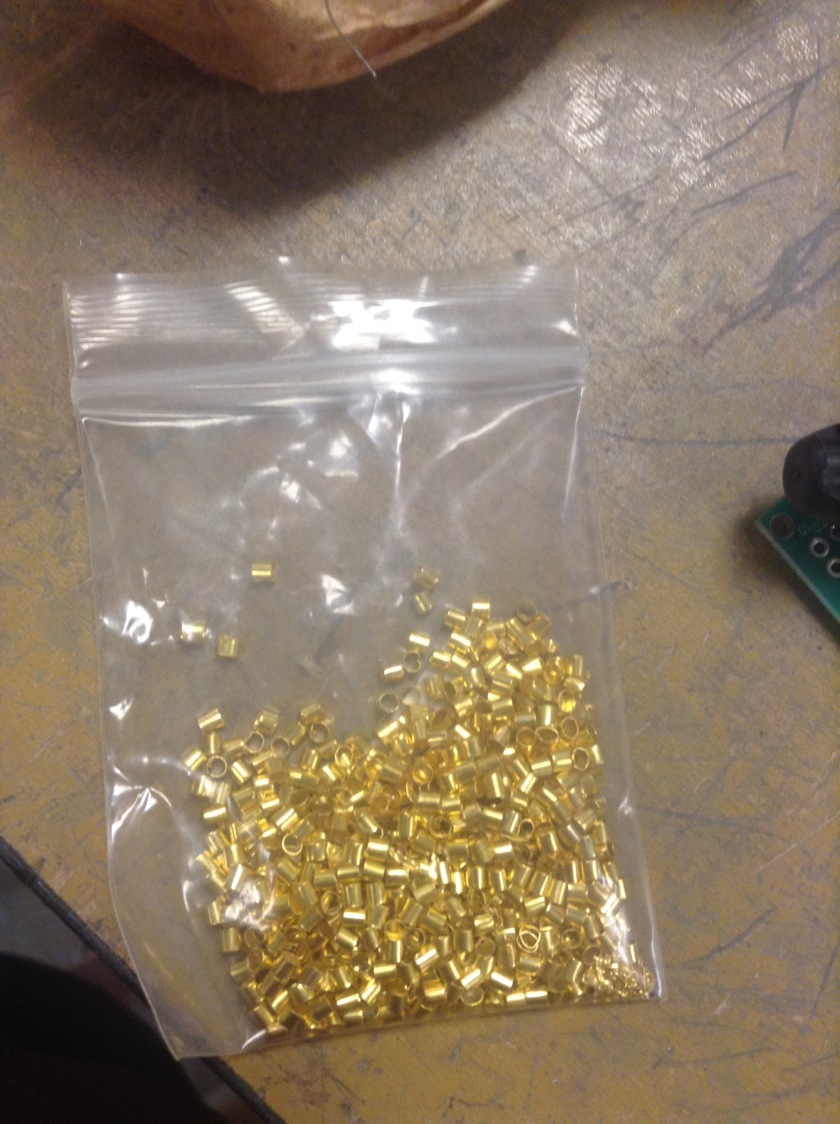
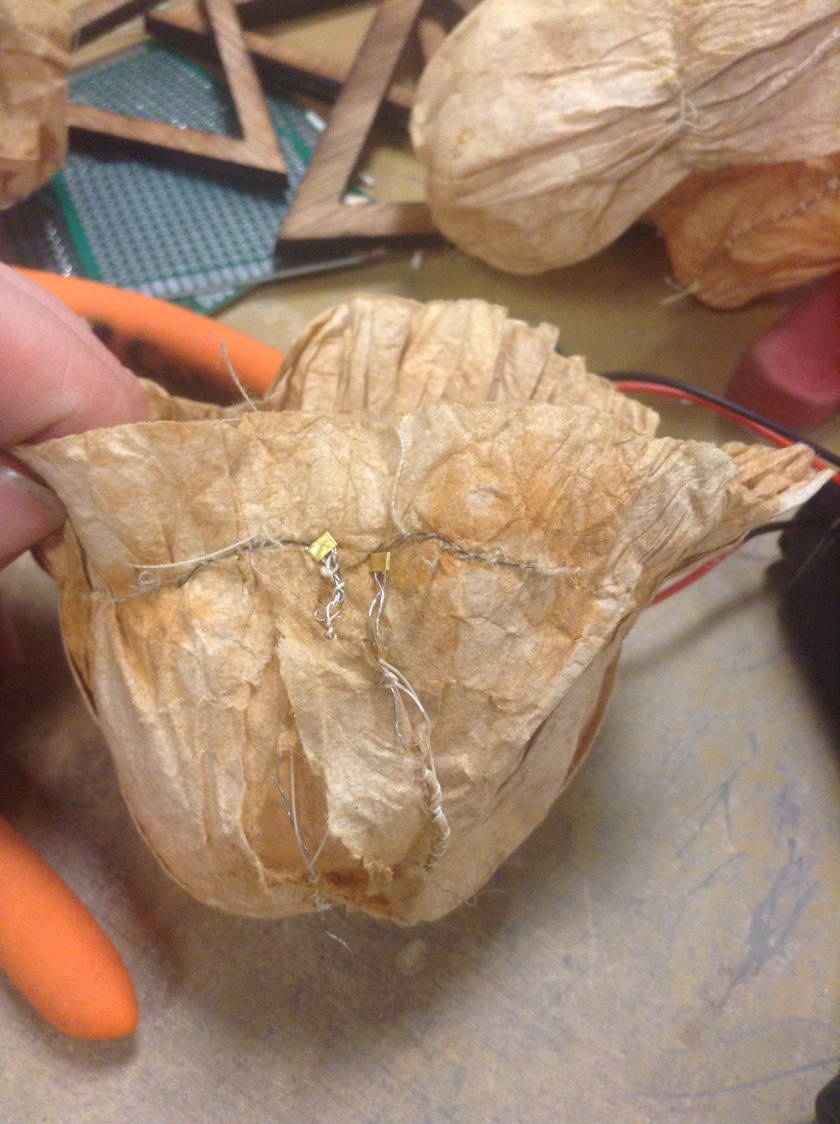
Besides the electronic aspect of the project, I have also improved my technique for securing the muscle wire to the rest of the wiring (as it cannot be soldered). Earlier, I had just secured the muscle wire by twisting it with the the connecting wire. This sort of did the job, but it was not very secure and I found myself having to fix connections frequently. I took a tip from a friend and started to secure the connection to the muscle wire by crimping small brass fasteners:


I also made sure to start sewing the normal wire into the forms, especially at the base of the forms, where they would transition to the other electronics, to prevent shorts.
In addition to the more secure connections, I also have thought more in-depth on how I would like these forms to be installed within a space. In my first post, I had essentially just placed the forms and electronics on a ledge with a piece of canvas to hide the electric components. However, I feel that it is important for this project that the forms be very well integrated into a space. I became interested in muscle wire in the first place because of its ability to create movement that seems natural to casual viewer, and I think to properly create that affect the placement and installation of the forms need to feel just as “natural”. After trying a few different options for the installation, I finally decided that the best way to go about it was to always install at the floor or ceiling of corners. This allows for the most volume behind the forms to hide electronics, while only having to cover a small surface area in front:
The forms are attached to a piece of canvas that is sewn into a triangular frame that can be set into the corner:
I like this solution because it allows me to utilize the existing geometry of a space to fully integrate the sculptures into their environment.
From here, I would still like to get the electronics functioning how they are intended to. I will make another update when that happens!


